As spring is bring more colors into my wardrobe, I've felt that my jewelry collection should grow too. However, as most of you know, my budget for such frivolous things is rather tight. Thankfully, I'm rather creative and resourceful. I've dug into my old bead stashes, gotten some feathers from a friends bird, and even raided my grandma's old button tin (Oh, Grandma, you are always with me) and have created some great new earrings.
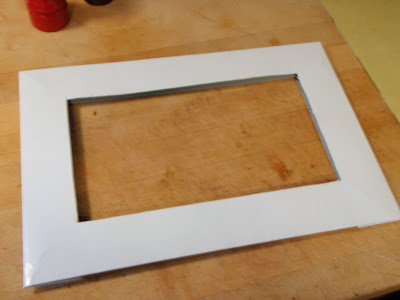
Now I have all these wonderful new earrings and no where to put them all. I think I can fix that. I started off with the top of a shirt box, with the sides folded up all nicely to make a perfect frame and cut out the inside.
Then cut some fabric in to 3in. strips and used some Mod Podge to attach it to the frame.
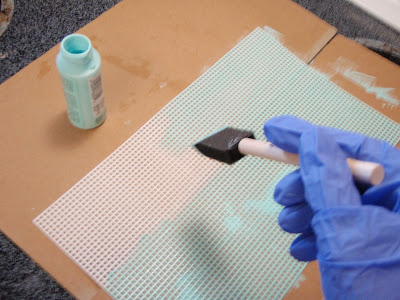
Next, I took a sheet of plastic canvas, cut it down to size and painted it with a matching color. I love that the paint isn't perfect. It gives it a more shabby chic feel.
After the paint dried, I hot glued it into the frame using the sides of the "box" as a backing.
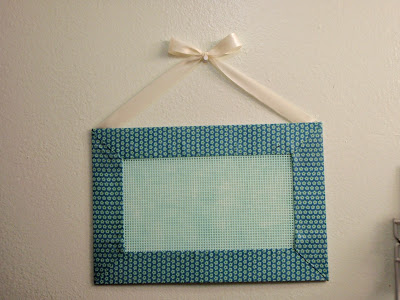
I then took about 3 feet of ribbon, tied it in a bow with a dot of hot glue on the back for stability, and glued it to the back for a hanger. And ta-da, my new earring holder.
I'm looking forward to wearing all my new earrings and making more as well. Especially now that I have a place to put them all.


No comments:
Post a Comment